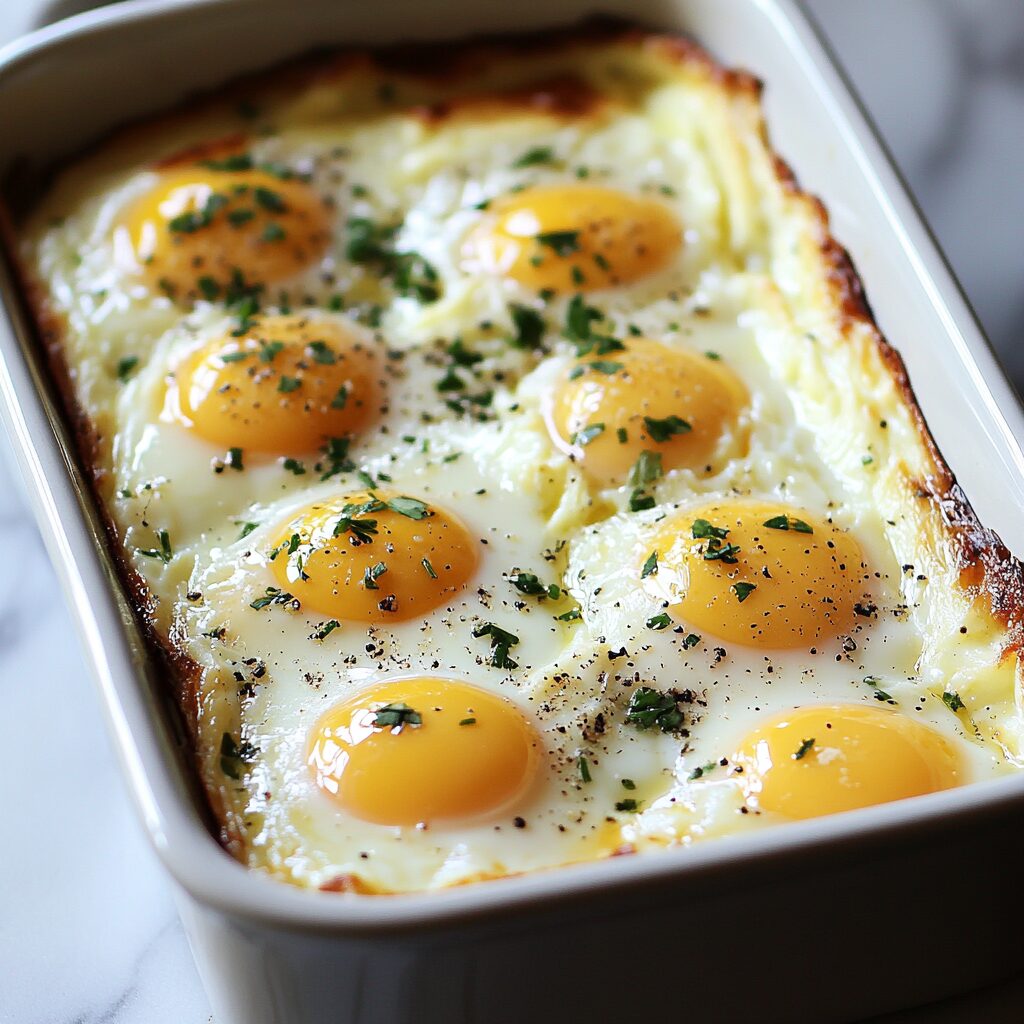
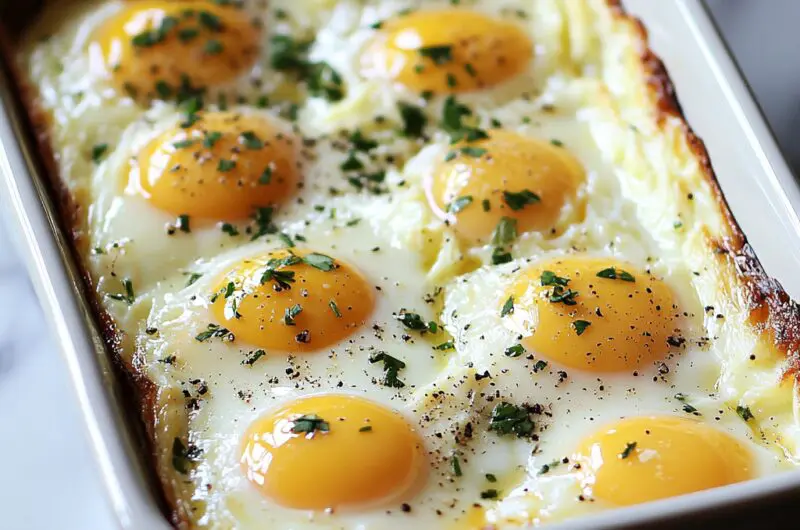
As a food blogger, I’ve seen my fair share of kitchen hacks and tricks. But when I stumbled upon this bizarre egg trick, I was skeptical. Could it really be as game-changing as people claimed? Intrigued and slightly dubious, I decided to put it to the test. Little did I know that this unconventional method would revolutionize my approach to making egg salad and hard-boiled eggs. Prepare to have your culinary world turned upside down as I share my experience with this unusual egg hack that actually works!
The No-Peel Baked Egg Revelation
Gone are the days of tediously peeling hard-boiled eggs for your favorite recipes. This innovative egg technique involves baking eggs in a loaf pan instead of boiling them. When I first heard about it, I couldn’t help but wonder if it was just another internet fad. However, the prospect of skipping the frustrating peeling process was too tempting to ignore.
The method is surprisingly simple. You start by greasing a loaf pan and cracking several eggs directly into it. Then, you bake the eggs in a water bath at 350°F for about 30 minutes. The result? A solid block of cooked egg that can be easily chopped up for egg salad or other dishes. No more dealing with stubborn shells or accidentally mangling your eggs in the process!
As I prepared to try this technique, I couldn’t help but feel a mix of excitement and skepticism. Would the eggs cook evenly? Would they taste the same as traditional hard-boiled eggs? There was only one way to find out.
Tip: For best results, let your eggs come to room temperature before baking. This helps prevent any dry spots on the surface of the cooked eggs.
To my surprise, the baked eggs turned out remarkably well. The texture was similar to that of boiled eggs, and the taste was virtually indistinguishable. However, I did notice some slight drying around the edges of the egg block. To combat this, I decided to cover the pan tightly with foil during baking, which helped retain moisture and resulted in a more uniform texture.
One of the most significant advantages of this method is the time and effort saved. No more waiting for water to boil or meticulously peeling each egg. This time-saving egg hack allowed me to make egg salad in a fraction of the time it usually takes. Plus, the clean-up was a breeze compared to the mess that often accompanies traditional egg peeling.
Exploring the Versatility of Baked Eggs
As I experimented with this egg-cooking technique, I began to realize its potential beyond just egg salad. The uniform shape of the baked egg block lends itself well to various culinary applications. For instance, I found it perfect for creating neat, uniform slices for sandwiches or as a protein-packed topping for salads.
Inspired by the success of the basic method, I decided to get creative. I tried adding herbs and spices directly to the raw eggs before baking, resulting in beautifully flavored egg slices. Chopped chives, dill, and a touch of smoked paprika became my favorite combination, adding a burst of flavor and visual appeal to my egg creations.
For those who enjoy meal prepping, this baked egg method is a game-changer. You can easily make a large batch of eggs at once, slice them up, and store them in the refrigerator for quick and easy protein additions to your meals throughout the week. It’s a fantastic way to save time without sacrificing nutrition or taste.
Tip: Experiment with different pan shapes for various egg presentations. A round cake pan can create circular egg slices perfect for breakfast sandwiches!
While this method works wonders for many egg dishes, it’s worth noting that it may not be suitable for recipes that require whole, perfectly round egg shapes. For those instances, traditional boiling methods or specialized egg gadgets might still be necessary. Speaking of gadgets, if you’re looking to streamline your egg-cooking process even further, consider investing in a versatile egg cooker. These handy devices can handle various egg preparations with ease.
The Science Behind the Baked Egg Magic
As I delved deeper into this egg-cooking phenomenon, I couldn’t help but wonder about the science behind it. Why does this method work so well? It turns out that baking eggs in a water bath creates a gentle, even heat distribution similar to boiling. The proteins in the egg white and yolk coagulate slowly and uniformly, resulting in a texture that closely mimics that of a traditional hard-boiled egg.
The water bath is crucial to the success of this method. It prevents the eggs from drying out or developing a rubbery texture, which can happen when eggs are exposed to direct, dry heat. The steam generated in the oven also plays a role in creating that perfect, tender consistency we all love in a well-cooked egg.
One interesting aspect of this technique is how it eliminates the need for an ice bath after cooking. With traditional boiling methods, rapidly cooling the eggs is essential to prevent overcooking and that dreaded green ring around the yolk. The baked egg method, however, allows for more precise temperature control, reducing the risk of overcooking and simplifying the process even further.
Tip: For perfectly cooked yolks, use an oven thermometer to ensure your oven temperature is accurate. Even a slight variation can affect the final result.
While this baked egg hack may seem unconventional, it’s not entirely new to the culinary world. Professional kitchens and food manufacturers have been using similar techniques for years to produce large quantities of uniform egg products. By bringing this method into our home kitchens, we’re tapping into a tried-and-true technique that combines efficiency with culinary science.
For those who love kitchen gadgets, this method might seem too simple. After all, there are countless egg-specific devices on the market, from egg cubers to electric egg cookers. However, the beauty of this baked egg technique lies in its simplicity and accessibility. All you need is a loaf pan and an oven – items most kitchens already have. It’s a perfect example of how sometimes, the most effective culinary tricks don’t require fancy equipment.
As I reflect on my experience with this bizarre egg trick, I’m reminded of why I love food blogging. It’s these unexpected discoveries, these small revelations that can transform our daily cooking routines, that make culinary exploration so exciting. What started as a skeptical experiment has become a regular part of my kitchen repertoire, saving me time and frustration without compromising on quality or taste.
In a world of constantly evolving kitchen gadgets and trendy cooking techniques, it’s refreshing to find a simple, effective method that stands up to the hype. This baked egg hack may not be the most glamorous culinary trick, but it’s certainly one of the most practical I’ve encountered. So the next time you’re faced with the task of preparing hard-boiled eggs, why not give this method a try? You might just find yourself wondering how you ever managed without it. Happy cooking, and may your egg salads be forever shell-free!
No-Peel Baked Eggs
Course: BreakfastCuisine: American4
servings30
minutes40
minutes300
kcalRevolutionize your egg game with this mind-blowing, time-saving technique!
Ingredients
7 large eggs
1 tablespoon olive oil or nonstick cooking spray
1/4 teaspoon salt
1/8 teaspoon black pepper
Optional herbs (e.g., 1 tablespoon chopped chives or dill)
Directions
- Preheat your oven to 350°F (175°C). While the oven is heating, grease a 9×5-inch loaf pan generously with olive oil or nonstick cooking spray. This will ensure easy removal of the eggs once they’re cooked.
- Crack the 7 eggs directly into the greased loaf pan. Add salt, pepper, and any optional herbs you’re using. Gently whisk the eggs in the pan, being careful not to create too many bubbles. This will ensure even cooking and seasoning throughout the egg block.
- Place the loaf pan into a larger baking dish. Carefully pour hot water into the larger dish until it reaches about halfway up the sides of the loaf pan. This water bath will help the eggs cook evenly and prevent them from drying out.
- Cover the loaf pan tightly with aluminum foil. This will trap steam and moisture, ensuring the eggs cook evenly without developing a dry or rubbery surface. Carefully transfer the baking dish with the loaf pan to the preheated oven.
- Bake for 30 minutes. The eggs should be fully set but still moist. If you prefer a firmer texture, you can bake for an additional 2-3 minutes, but be careful not to overcook as this can lead to a rubbery texture.
- Once done, carefully remove the baking dish from the oven. Using oven mitts, lift the loaf pan out of the water bath and remove the foil. Let the eggs cool in the pan for about 5 minutes. This brief cooling period will make the eggs easier to handle and help them retain their shape.
- Run a butter knife around the edges of the egg block to loosen it from the pan. Place a cutting board or plate over the top of the loaf pan and carefully invert it to release the egg block. If it doesn’t come out easily, gently tap the bottom of the pan or use the knife to help release it.
- Allow the egg block to cool completely before using. Once cooled, you can slice or chop the eggs as needed for your recipe. For egg salad, simply chop the egg block into small cubes. For sandwiches or salad toppings, you can create neat, uniform slices.
Notes
- For best results, use eggs that are at room temperature before baking. This helps prevent any dry spots on the surface of the cooked eggs.
- Experiment with different herbs and spices mixed into the eggs before baking for varied flavors.
- This method works best with 7-10 eggs in a 9×5-inch loaf pan. Using fewer eggs may result in overcooking, while more eggs might cook unevenly.
- Store any leftover baked egg in an airtight container in the refrigerator for up to 5 days.
Frequently Asked Questions
Q: Can I use this baked egg method for making deviled eggs?
A: While this method is great for egg salad and sliced eggs, it’s not ideal for deviled eggs. Traditional deviled eggs require intact egg white halves to hold the filling. However, you could use this method to make a deconstructed deviled egg salad by mixing the chopped baked eggs with typical deviled egg filling ingredients.
Q: How long can I store these baked eggs in the refrigerator?
A: When stored in an airtight container, these baked eggs can last up to 5 days in the refrigerator. This makes them perfect for meal prep or for making a large batch of egg salad ahead of time.
Q: Can I add cheese or other ingredients to the eggs before baking?
A: Absolutely! You can experiment with various add-ins like shredded cheese, finely chopped vegetables, or cooked and crumbled bacon. Just make sure any additional ingredients are evenly distributed throughout the egg mixture before baking.
Q: Is this method suitable for making large batches of eggs for events or gatherings?
A: Yes, this method is excellent for preparing eggs in large quantities. You can easily scale up the recipe by using multiple loaf pans or a larger baking dish. Just be sure to adjust the baking time accordingly and check for doneness, as larger batches may require a few extra minutes in the oven.


